


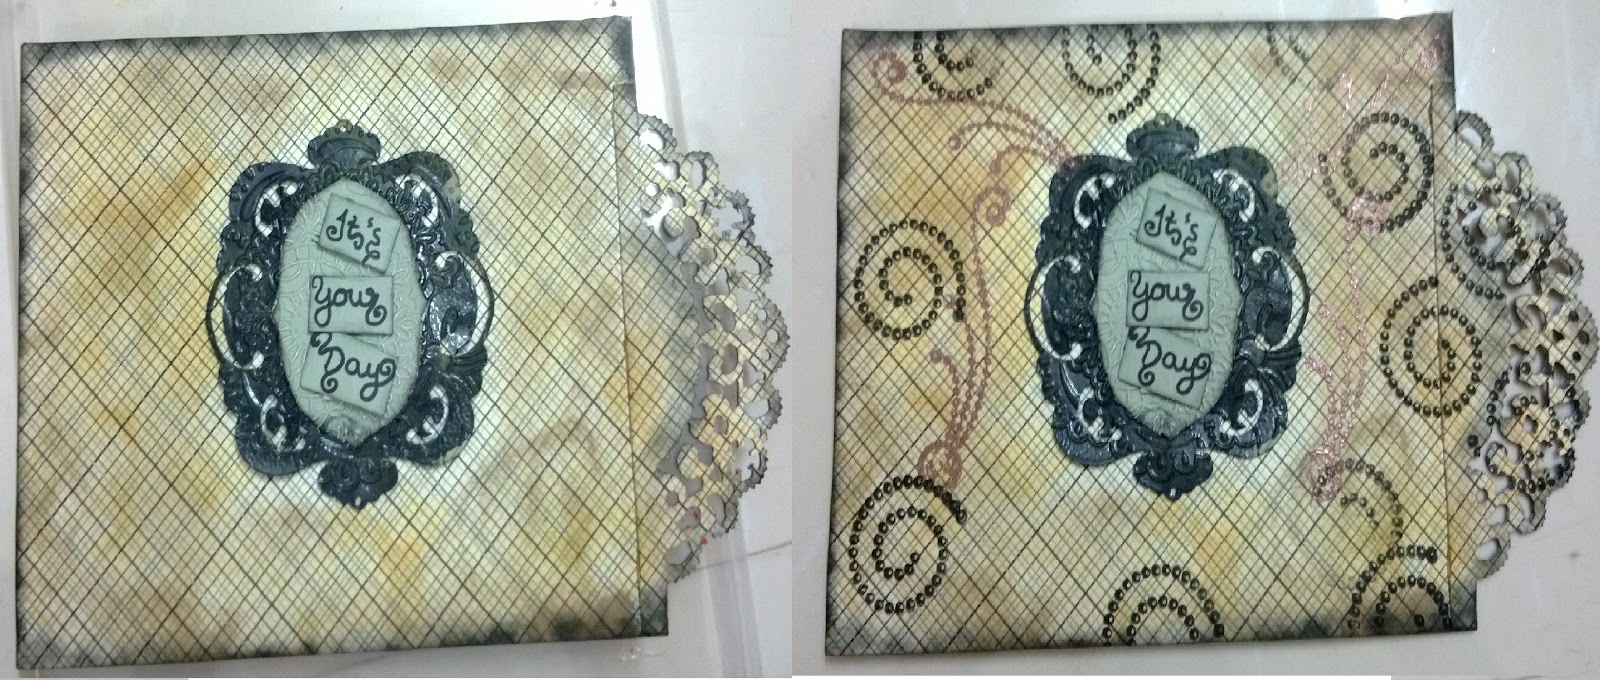
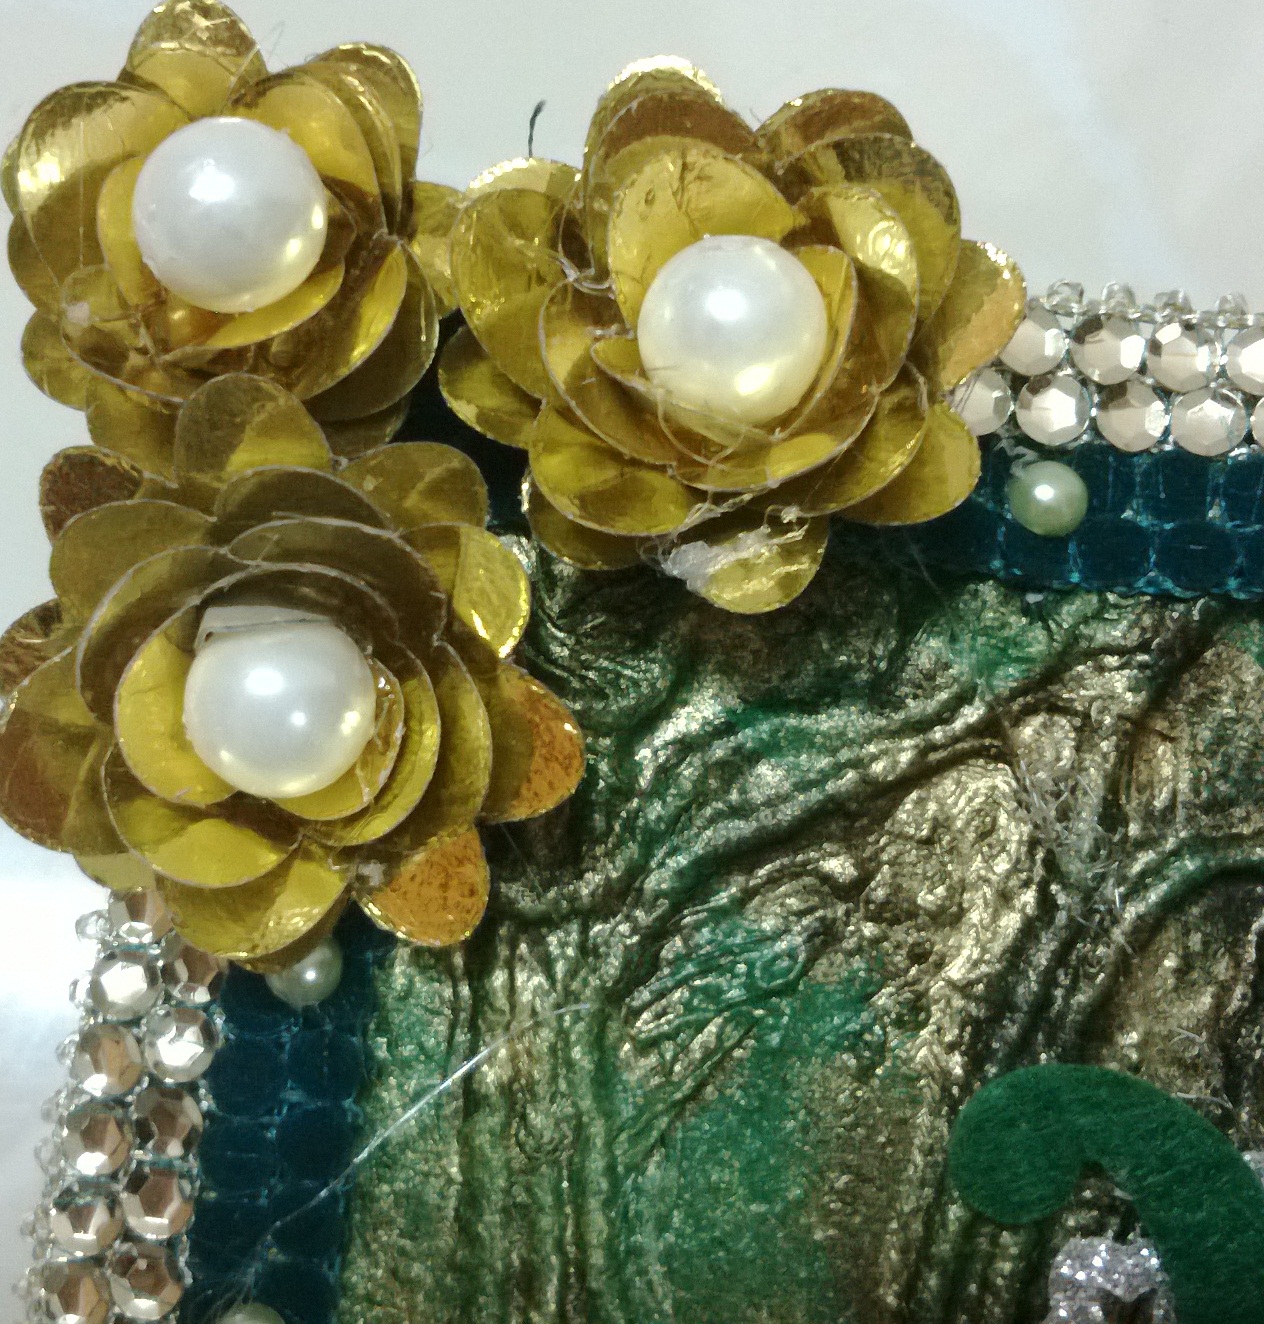
my new creation


 Hi,Iam niveditha from Hyderabad,India.I just completed my b.tech and Crafting is my passion since my childhood and now i am starting my career as an accessory designer.This blog is my space to share my passion with you. Iam so glad that you came by to visit my little space in this blogosphere. Hope you enjoy your visit here.Feel free to leave your comments and suggestions.I would love to hear from you.You can also mail me at ms.dasyam@gmail.com


 Hi,Iam niveditha from Hyderabad,India.I just completed my b.tech and Crafting is my passion since my childhood and now i am starting my career as an accessory designer.This blog is my space to share my passion with you. Iam so glad that you came by to visit my little space in this blogosphere. Hope you enjoy your visit here.Feel free to leave your comments and suggestions.I would love to hear from you.You can also mail me at ms.dasyam@gmail.com
Hi,Iam niveditha from Hyderabad,India.I just completed my b.tech and Crafting is my passion since my childhood and now i am starting my career as an accessory designer.This blog is my space to share my passion with you. Iam so glad that you came by to visit my little space in this blogosphere. Hope you enjoy your visit here.Feel free to leave your comments and suggestions.I would love to hear from you.You can also mail me at ms.dasyam@gmail.com
Hi,Iam niveditha from Hyderabad,India.I just completed my b.tech and Crafting is my passion since my childhood and now i am starting my career as an accessory designer.This blog is my space to share my passion with you. Iam so glad that you came by to visit my little space in this blogosphere. Hope you enjoy your visit here.Feel free to leave your comments and suggestions.I would love to hear from you.You can also mail me at ms.dasyam@gmail.com


 Hi,Iam niveditha from Hyderabad,India.I just completed my b.tech and Crafting is my passion since my childhood and now i am starting my career as an accessory designer.This blog is my space to share my passion with you. Iam so glad that you came by to visit my little space in this blogosphere. Hope you enjoy your visit here.Feel free to leave your comments and suggestions.I would love to hear from you.You can also mail me at ms.dasyam@gmail.com


 Hi,Iam niveditha from Hyderabad,India.I just completed my b.tech and Crafting is my passion since my childhood and now i am starting my career as an accessory designer.This blog is my space to share my passion with you. Iam so glad that you came by to visit my little space in this blogosphere. Hope you enjoy your visit here.Feel free to leave your comments and suggestions.I would love to hear from you.You can also mail me at ms.dasyam@gmail.com


 Hi,Iam niveditha from Hyderabad,India.I just completed my b.tech and Crafting is my passion since my childhood and now i am starting my career as an accessory designer.This blog is my space to share my passion with you. Iam so glad that you came by to visit my little space in this blogosphere. Hope you enjoy your visit here.Feel free to leave your comments and suggestions.I would love to hear from you.You can also mail me at ms.dasyam@gmail.com