


sorry that i could make a video of it as i am doing it alone..
Page 1:
Step 1:


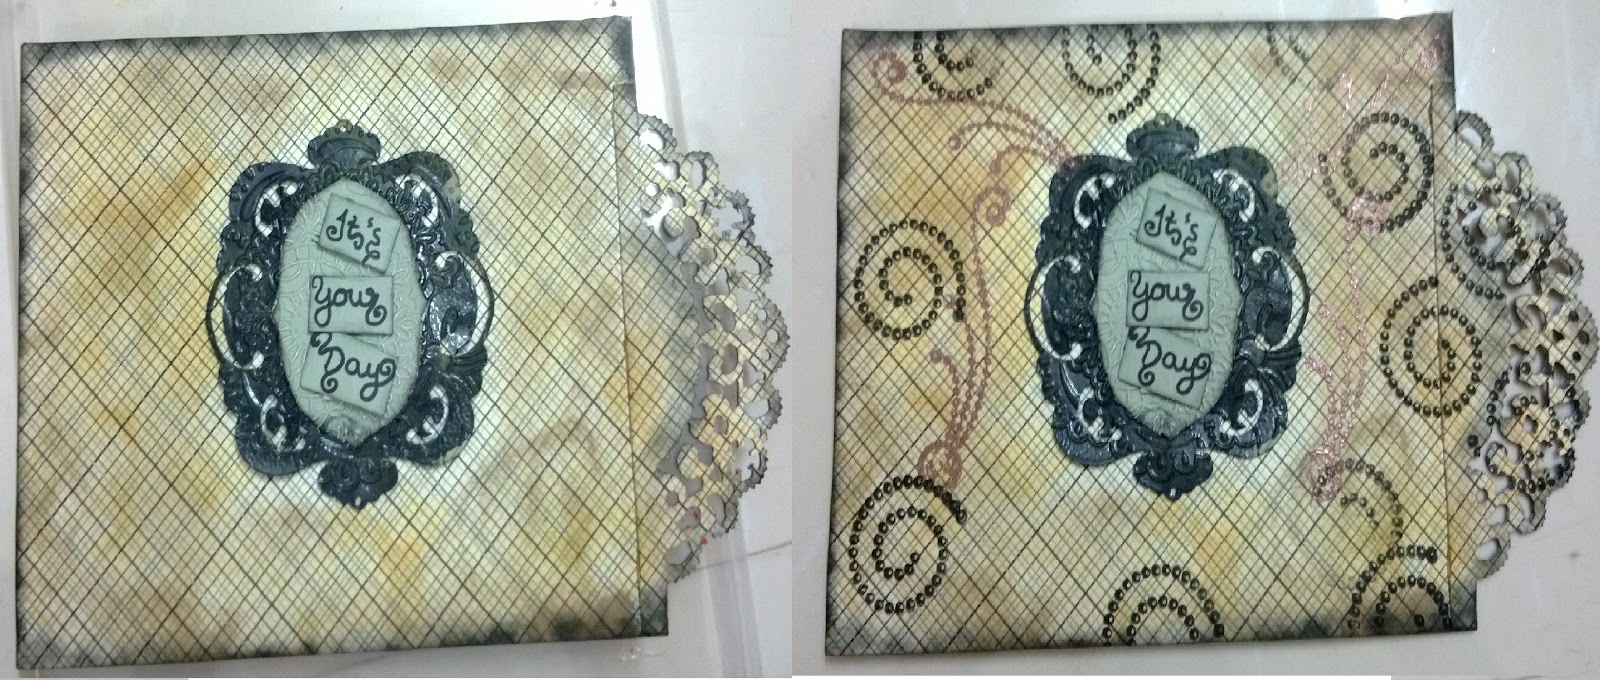
Here i've taken a pattern paper which is from itsy bitsy and softed the corners by sponging it and i've run a die doilies through big shot..and distressed the paper for the aged look and then i've run another die spellbinders and embossed the inner one and i've wrote "it's your day" and i've embossed the frame using embossing powder and heat gun and covered the paper with stamps from itsy bitsy again..
Step 2:


here i've tied a bow on the sheet with brown satin ribbon and used big corner dies butterflies from itsy bitsy again:) and i've cut those butter flies and i've kept it on the bow and near doiles..and the flower you are watching is made by itsy bitsy die..and for the border i've given down i made use of a lace ribbon and lace punch..i din't like the red in my theme so i've made it black and added pearls and so the final look..:)
Page 2:


In the 2nd page guys..:)
here i've taken a plain scrapbook sheet and added a embossed pocket through big shot and an embossing folder..(forgot to take a shot while embossing it..)..later i've added the butterfly border to the pocket by taking a normal scrapbooking sheet and taking the die running it through big shot and soften the corners of it..and as the theme is birthday i've taken a plastic box i found it in my house and attached it and created a patern using glue gun on it and then covered it with writable plaster and colored it with brown and i've made a flower with satin ribbon and attached on the top of the box and so the cake is ready for the b'day..i've wrote"close your eyes and make a wish" on this page..for the tag i've used a bigz die and run it through big shot and decorated it as seen in the picture..and that's it done with the second page..
Page 3:


now we enter in the 3rd page..
here i've taken an hand made sheet and embossed it by using itsy bitsy embossing folders and running it through a big shot..and the i've used a die from spellbinders and i've made a flower and distressed the flower and embossed at the center with a flower stamp from itsy bitsy and added the pearls around..and for the green stem i've used bigz die and a foam sheet and run it through a big shot and added pearls to give it a finish..and for the tag i've used the shimmer sheet (my best friend gave it to me..:))and made a frame using the sheet and OHP sheet and a heart punch and beads and made a shaker frame with a hangin' option and added pearls to the border for complimenting the frame..(you can just hang it on a wall and it can be a tag too:))
Page 4:

now in the page 4..:)
here i've taken a beautiful floural sheet and i've cut it in the sape as seen and i've used a big shot and made those rectangle tags..and using a foam at the back i've given it a 3D look..and the flowers are the free gift from itsy bitsy:) i've just soften the corners and placed it as seen..
Page 5:

alright now in page 5..:)
for the back ground (m so sorry i forgot to take shots while doing 'em) i've taken a pattern paper and used birthday collections stamps and stamped it at the background..and then i've taken a chipboard and bordered it with writable plaster and stamped it using itsy bitsy birthday collection stamps and attached to the page..:)
Page 6:

here i've taken the same sheet used in page 4 and covered it using stamps and i've taken a rectangle shaped chip board placed at the center of the page and i've sponged through the corners and removed it and so the frame effect on the sheet and for tags again i've used bigz die and run it through a big shot and used hand made satin flower (same as in 2nd page) for complimenting the tag and stamped it using birthday collections stamp from itsy bitsy(you can turn the tag and you have space to write anything)
Page 7:

yippy we reached to page 7..:)
for page 7 i've used a scrapbooking sheet and soften it corners as seen and used same effect as in page 6..and used itsy bitsy birthday stamps to stamp on it..:)
page 8:


in page 8 now..:)
for page 8 i've used the same effect as in page 6 and page 7 and stamped it using itsy bitsy b'day collections and for the tag i used big shot and bigz die from itsy bitsy again..and used a handmade flower from itsy bitsy again for complimenting my tag and used the borders same as in page 1..and stamped this cute cup cake with the candle from the b'day collections from itsy bitsy again..:)
page 9 and 10:


we are now in the last page..:)
ok for page 9 i've used the pearl sheet from itsy bitsy and soften the corners and covered it with stamps using itsy bitsy b'day collections stamps and embossed an OHP sheet using itsy bitsy embossing folder and a bigshot and created a pocket and for the tag & page 10 i've used the same pattern paper as in page 5 background..and for making the cute candy holder i've used the same pearl sheet and a circle punch and made a short box with a whole at the center and then i've cut the pearl sheet into a rectangle and made a rectangle whole as seen in the picture and assembled everything for making a candy holder and i used a ribbon for complimenting the holder and a flower button as shown in the picture and attached this candy holder to page 9 using a satin ribbon..and i've binded it using satin ribbons and key rings and

that's it..the mini album is done ..:)

1 comment:
Wow this is seriously elaborate and intricate. Looks like you spent a great deal of time on the project! Kudos to you! Thanks so much for playing along ItsyBitsy's Sizzix Tutorial Challenge. All the very best!
ItsyBitsy - The Blog Place
Post a Comment